How To Use RemoteIoT Behind Router Without MAC Fee: The Ultimate Guide
Imagine this: You’re trying to set up your IoT devices remotely, but your router’s firewall is blocking all the connections. Plus, you’re worried about paying extra for MAC address fees. Frustrating, right? But don’t worry, my friend! This guide will walk you through every step of using RemoteIoT behind a router without any MAC-related charges. So, buckle up, because we’re about to dive deep into the world of IoT and networking.
RemoteIoT has become a buzzword in the tech world, especially for those who want to control their smart devices from anywhere in the world. But let’s face it—getting it to work behind a router can be a nightmare. That’s why I’ve put together this comprehensive guide to help you navigate through the maze of routers, firewalls, and IP addresses.
By the end of this article, you’ll know exactly how to set up your RemoteIoT devices without worrying about pesky fees or complicated configurations. Let’s get started!
- Why Mkv Movies Download Is The Smart Choice For Your Movie Library
- Jackerman Mothers Warmth Chapter 3 Unveiling The Heartwarming Story
Table of Contents
- What is RemoteIoT?
- Understanding Routers and Firewalls
- Why Avoid MAC Address Fees?
- Step-by-Step Guide to Setting Up RemoteIoT
- Port Forwarding: The Key to Success
- Dynamic DNS: What You Need to Know
- Security Measures for RemoteIoT
- Troubleshooting Tips
- Common Mistakes to Avoid
- Conclusion: Take Control of Your IoT Devices
What is RemoteIoT?
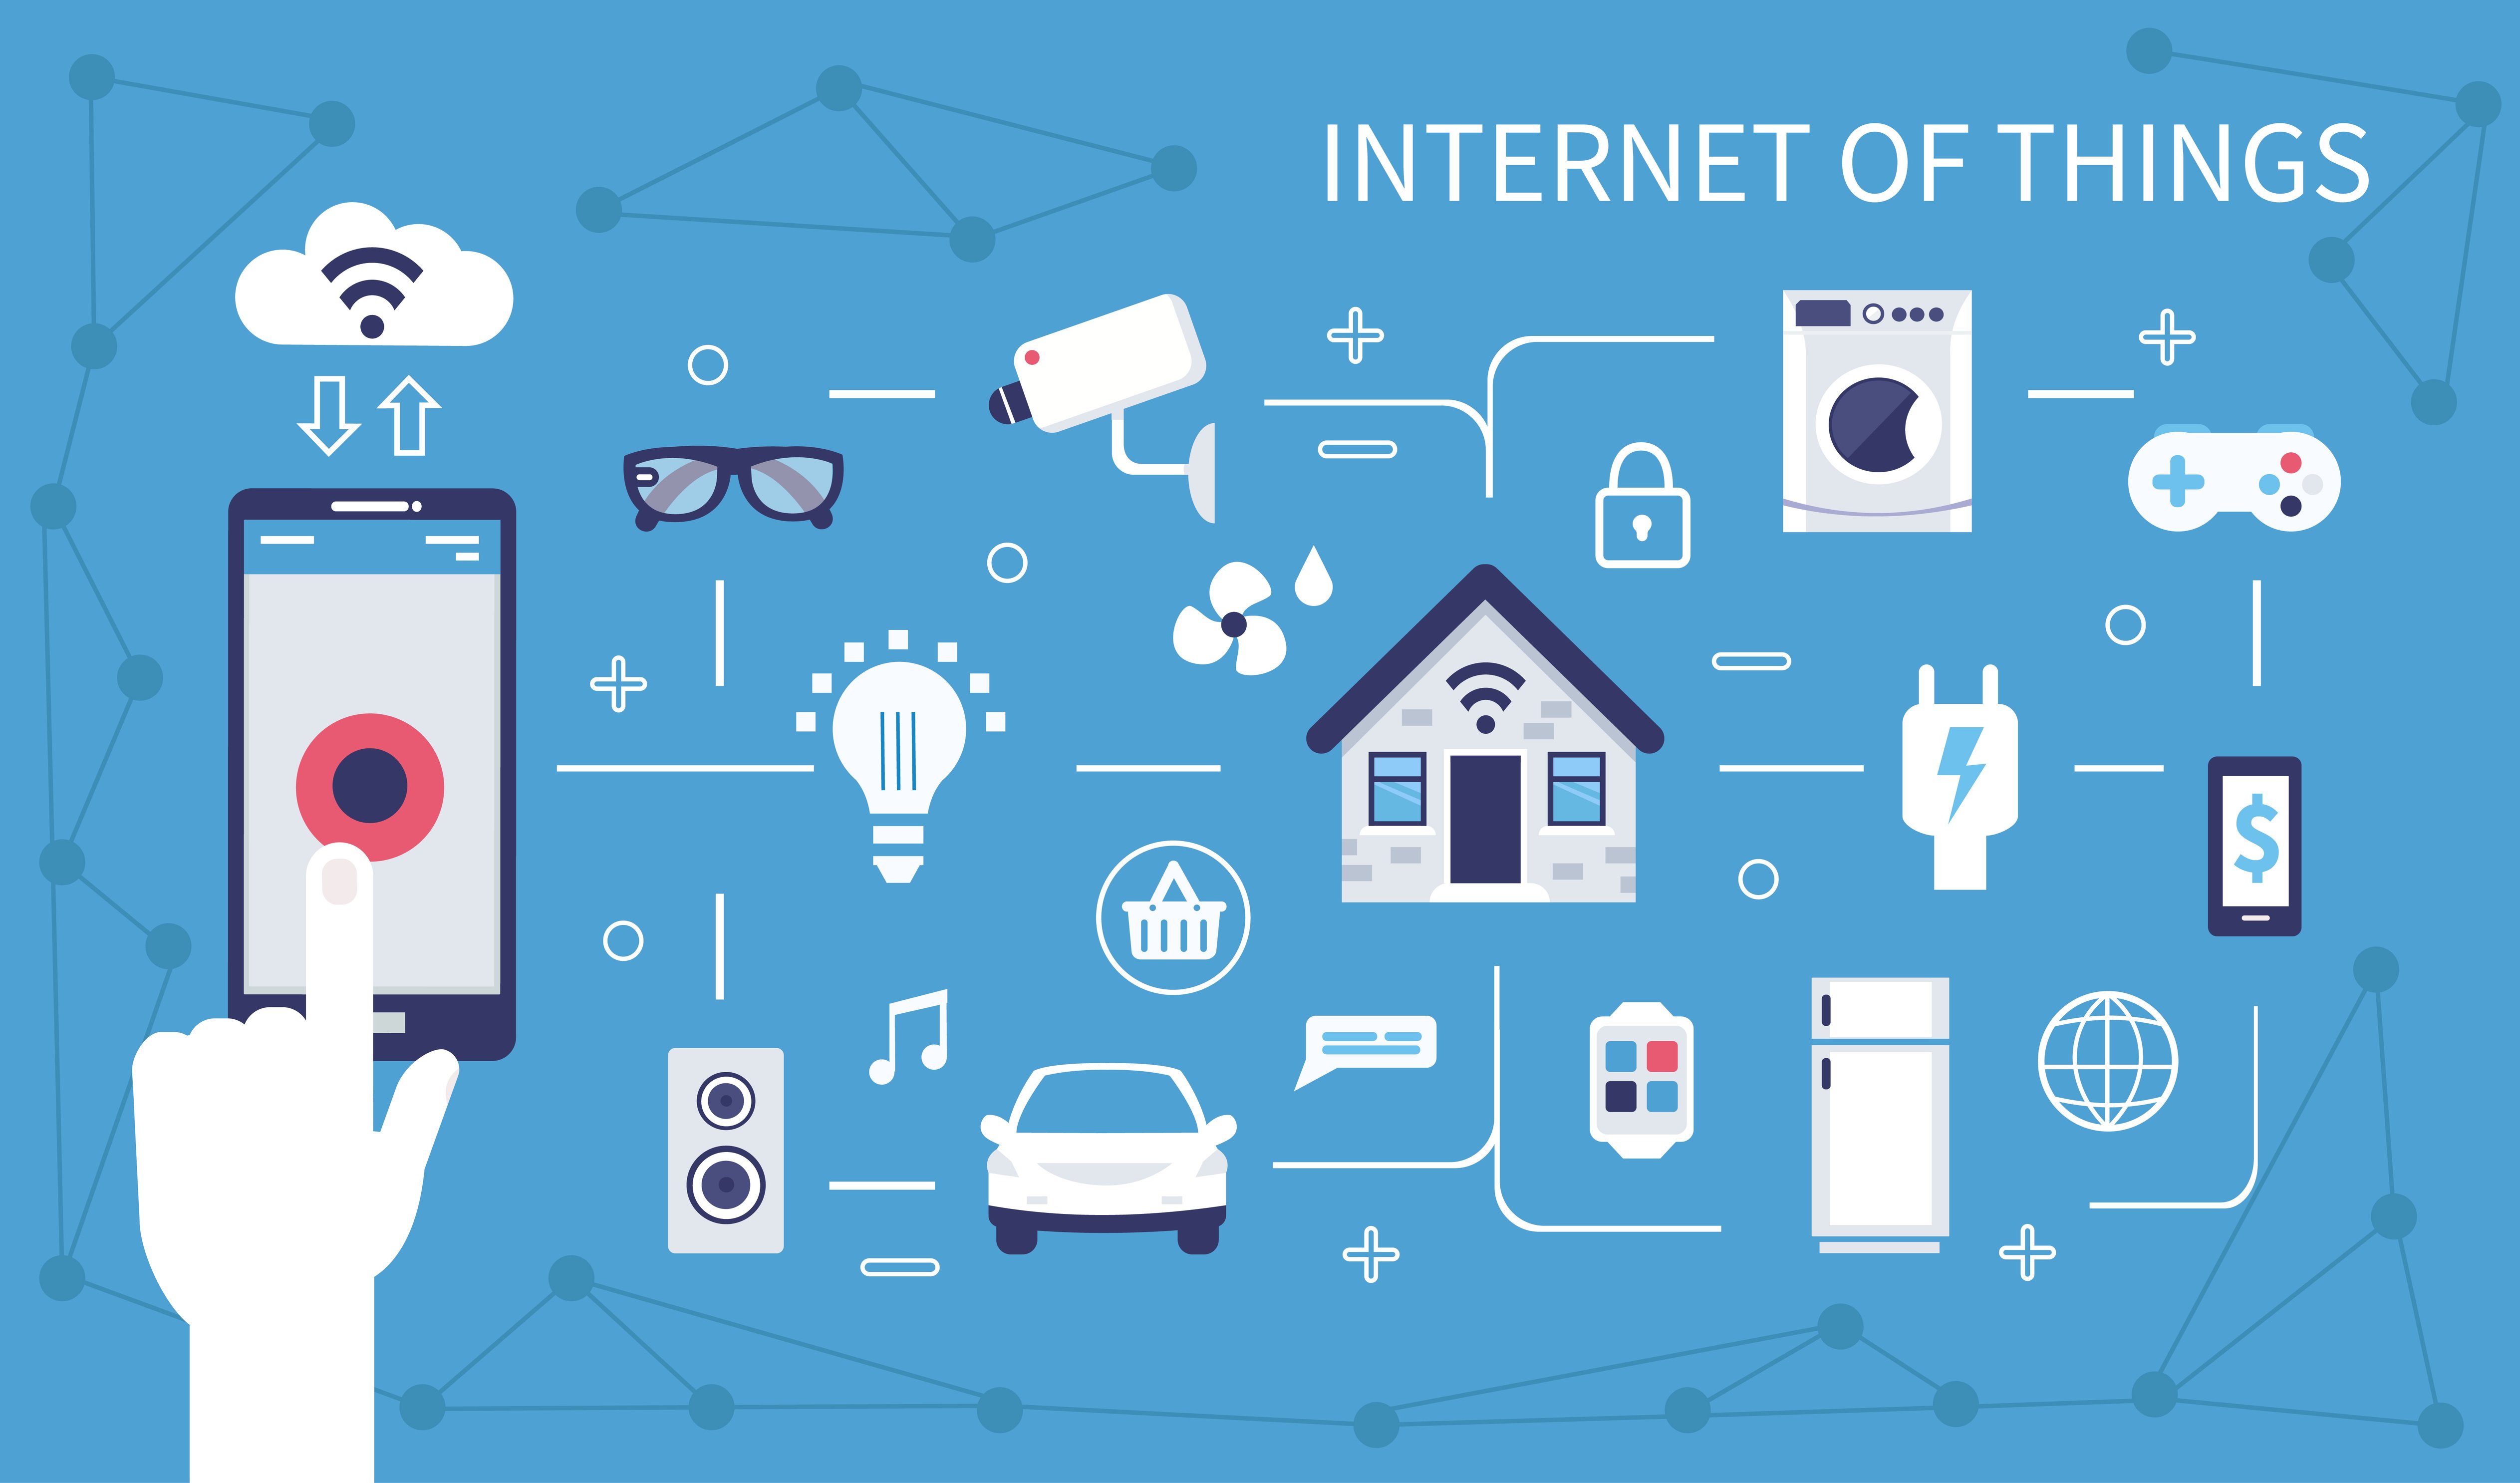
Alright, let’s start with the basics. RemoteIoT refers to the ability to control Internet of Things (IoT) devices from anywhere in the world. Think of it like this: you can turn off your smart lights, check your home security camera, or even adjust your thermostat while you’re sipping coffee in another country.
But here’s the thing—most routers have firewalls that block incoming connections. And if you’re using a service that charges for MAC address registration, well, that can get expensive pretty fast. So, we’re going to show you how to bypass all that and still enjoy seamless control over your devices.
Why is RemoteIoT Important?
In today’s connected world, having remote access to your IoT devices is more than just a convenience—it’s a necessity. Whether you’re a homeowner, a business owner, or just someone who loves tech gadgets, RemoteIoT gives you the power to stay in control no matter where you are.
- Aishah Hasnie Husband A Deep Dive Into Her Love Story And Life
- The Dark Truth Behind The Junko Furuta Case A Chilling Story That Still Haunts Japan
Understanding Routers and Firewalls
Before we dive into the nitty-gritty of setting up RemoteIoT, let’s talk about routers and firewalls. Your router is like the gatekeeper of your home network. It controls who gets in and who doesn’t. And then there’s the firewall, which adds an extra layer of security by blocking unauthorized access.
While firewalls are great for keeping hackers out, they can also make it difficult to access your IoT devices remotely. That’s why we need to configure our router settings properly to allow RemoteIoT to work without compromising security.
How Do Routers Affect RemoteIoT?
Routers can either be your best friend or your worst enemy when it comes to RemoteIoT. If your router doesn’t support port forwarding or dynamic DNS, you might run into some issues. But don’t worry—we’ll cover all the necessary settings later in this guide.
Why Avoid MAC Address Fees?
Now, let’s talk about MAC address fees. Some ISPs charge extra for registering MAC addresses, especially if you’re using multiple devices on the same network. This can add up quickly, especially if you have a lot of IoT devices.
But here’s the good news: you don’t have to pay these fees! By using techniques like port forwarding and dynamic DNS, you can bypass MAC address restrictions and still enjoy full control over your devices.
Are MAC Fees Really Necessary?
Not really. Most modern routers and ISPs offer alternative solutions that don’t require MAC address registration. So, why spend extra money when you can set up your network for free?
Step-by-Step Guide to Setting Up RemoteIoT
Okay, let’s get down to business. Here’s a step-by-step guide to setting up RemoteIoT behind a router without paying any MAC fees:
Step 1: Check Your Router’s Settings
First things first, you need to make sure your router supports the features we’ll be using. Log in to your router’s admin panel (usually by typing 192.168.1.1 or 192.168.0.1 into your browser) and look for options like port forwarding and dynamic DNS.
Step 2: Set Up Port Forwarding
Port forwarding allows specific ports on your router to communicate with your IoT devices. Here’s how to do it:
- Log in to your router’s admin panel.
- Go to the port forwarding section.
- Add a new rule, specifying the port number and the IP address of your IoT device.
Step 3: Enable Dynamic DNS
Dynamic DNS (DDNS) helps you access your network using a domain name instead of an IP address. Most routers have built-in DDNS services, so you just need to enable them and create a hostname.
Step 4: Test Your Connection
Once everything is set up, test your connection by accessing your IoT device from another network. If it works, congratulations—you’ve successfully set up RemoteIoT without paying any MAC fees!
Port Forwarding: The Key to Success
Port forwarding is one of the most important steps in setting up RemoteIoT. Without it, your router won’t know which device to send incoming connections to. Here’s a quick rundown of how it works:
When you access a website, your computer sends a request to the server hosting that website. The server then sends the requested data back to your computer. In the case of RemoteIoT, your router acts as the server, and your IoT device acts as the client. By forwarding specific ports to your device, you’re telling your router where to send incoming connections.
Common Ports for IoT Devices
Here are some common ports used by IoT devices:
- HTTP: 80
- HTTPS: 443
- SSH: 22
- FTP: 21
Dynamic DNS: What You Need to Know
Dynamic DNS is another crucial component of RemoteIoT. Since most home internet connections use dynamic IP addresses, your IP address can change without warning. This makes it difficult to access your network remotely.
By using a DDNS service, you can assign a domain name to your network that stays the same even if your IP address changes. Most routers offer built-in DDNS services, but you can also use third-party providers like No-IP or DynDNS.
How to Set Up DDNS
Here’s how to set up DDNS on your router:
- Log in to your router’s admin panel.
- Go to the DDNS section and enable the service.
- Create a hostname and assign it to your network.
Security Measures for RemoteIoT
Security should always be a top priority when setting up RemoteIoT. Here are some tips to keep your network safe:
- Use strong passwords for your router and IoT devices.
- Enable encryption on your Wi-Fi network.
- Regularly update your firmware and software.
- Limit access to specific IP addresses if possible.
Troubleshooting Tips
Even with the best setup, things can go wrong. Here are some troubleshooting tips to help you resolve common issues:
- Make sure your router’s firmware is up to date.
- Double-check your port forwarding settings.
- Verify that your DDNS hostname is correctly configured.
- Restart your router if necessary.
Common Mistakes to Avoid
Here are some common mistakes people make when setting up RemoteIoT:
- Forgetting to enable port forwarding.
- Not configuring DDNS properly.
- Using weak passwords for their network.
- Ignoring security updates.
Conclusion: Take Control of Your IoT Devices
There you have it—everything you need to know about using RemoteIoT behind a router without paying any MAC fees. By following the steps outlined in this guide, you can enjoy seamless control over your IoT devices from anywhere in the world.
Remember to always prioritize security and keep your network updated. And if you run into any issues, don’t hesitate to reach out to the community or consult the documentation for your specific router model.
So, what are you waiting for? Grab a cup of coffee, log in to your router, and start setting up your RemoteIoT network today!
And don’t forget to leave a comment below if you have any questions or suggestions. Happy tinkering, my friend!
- Vegamovies 20 The Ultimate Streaming Platform Youve Been Waiting For
- Why Telugu Movies Download Is A Big Deal In The Entertainment World

How To Use RemoteIoT Behind Router Without Windows Free A

How To Use RemoteIoT Behind Router Without Windows Free A
How To Use Remote Manage IoT Behind Router Mac Free A Comprehensive Guide
